Image Slider

Showing posts with label gel nail polish. Show all posts

Review | Born Pretty Store Gel Nail Polish (new line)

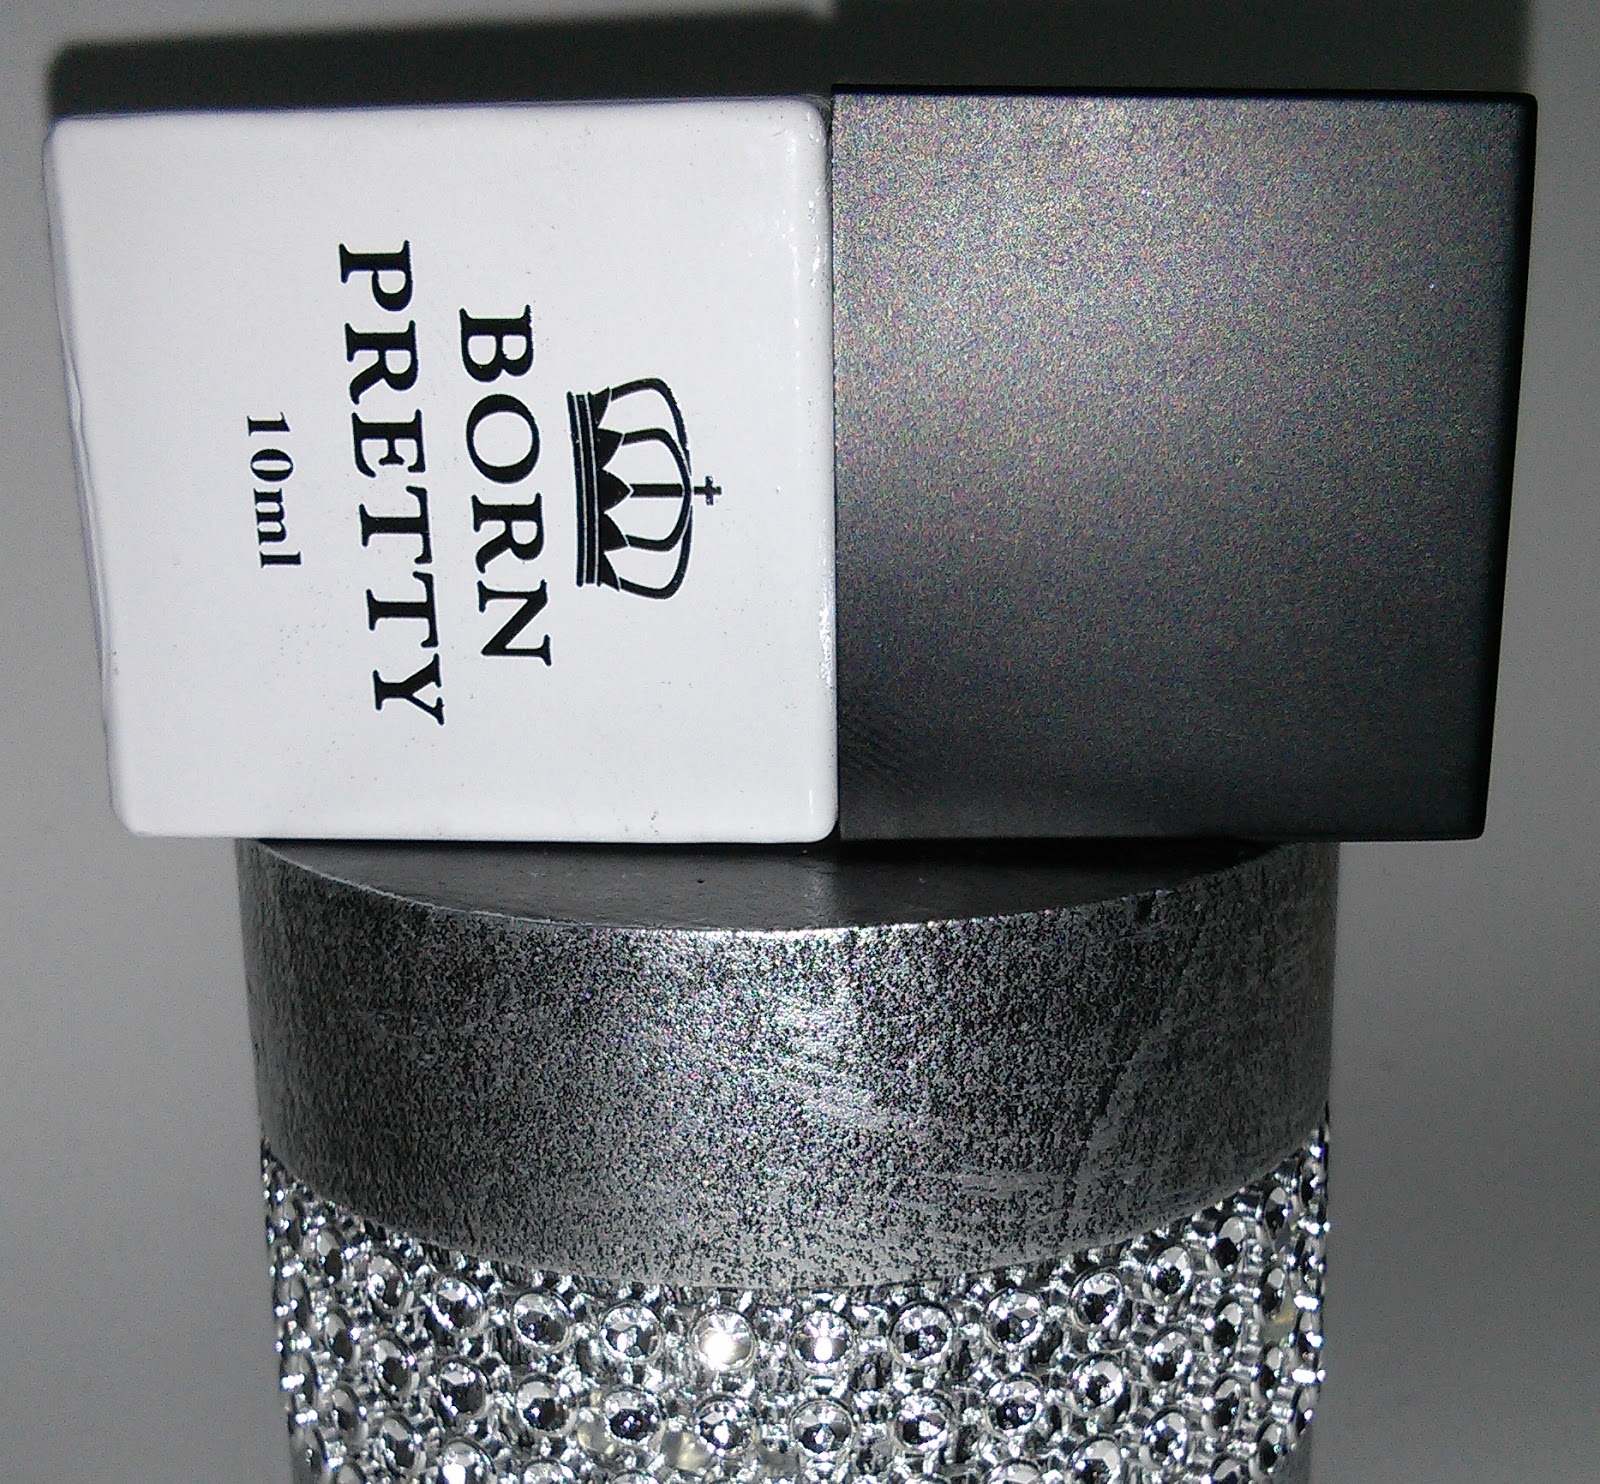
Born Pretty Store have once again introduced a new line of gel nail polishes and they have kindly sent me one of them to review.

The new gel polishes come in a square shaped bottle with a black cap and a completely opaque, white bottom part. The only downside to this packaging is that you don't know what colour the polish is and how much is left in the bottle.


I used the silver one in this fish scale nail art and I must say it was very easy to use. All you need is to apply it and cure under UV light for two minutes and seal with a top coat. It lasted me for five days and it came off easily after soaking my nails in acetone polish remover. This particular shade dries matte but you can always add a glossy top coat to add shine to it. To create the fish scales, I used vinyls from Born Pretty Store.


These gel polishes come in a large colour variety and they retail at $3.95 for 10ml of product and you can claim 10% off your purchase when quoting the code EBABK31 at checkout.


PR Sample

NOTW | Feather Manicure

I have finally jumped on the feather manicure bandwagon thanks to bornprettystore.com. I had bought a 5 feather pack off their website a couple months back and I have finally found the time to try them. I chose a natural colour to see how I liked the manicure and I am actually quite pleased with how it turned out to be. I used colour gels for this manicure so I had to prep my nails accordingly.
 
 
1. Prep your nails the usual way and apply two coats of a nail polish of your choice on the ring and middle fingers of both hands. I used Systeme Unique Colour Gel in Pewter.
 
2. Leave to dry (or in my case cure under UV light). Proceed by applying two coats of the same colour in a French tip fashion on the rest of your nails. Leave to dry (or cure).
 
3. Apply a third thin coat of the same colour on the ring and middle fingers. Do NOT cure.
 
4. Using a dotting tool, randomly place dots of another colour on the nails and using a small dotting tool, swirl the colours together to create a marbled effect. The contrasting colour I used is Systeme Unique Colour Gel in Metal Bronze. Cure under UV light and repeat for the other nails on the French tip area. If you are using nail polish, it is best to create the marbled effect one nail at a time.
 
5. Now for the feathers! Apply a coat of clear top coat on one of the ring fingers and snip off the tail of the feather you chose. Gently lower the feather on the still wet top coat, lick the ring finger of the opposite hand and apply gentle pressure to adhere the feather to your nail. Wait for a few seconds for the polish to dry and proceed by applying another layer of top coat over the feather. Here you want to make sure to apply top coat on the excess feather hanging over the free edge to make it easier to cut later on. Leave to dry.
 
6. Trim the excess feather off and file down any bits remaining closer to your nail. Finish off with a glossy top coat to complete your design. I used the Orly Gel FX Topcoat so I had to cure it and wipe off the tacky layer with the Orly Gel FX Cleanser.


And that's it! Anyone else tried the feather manicure?  

Review | Orly Gel FX Gel Nail Lacquer

Gel nail lacquer has taken nail polish to a whole new level and in May, I have introduced Orly Gel FX Gel Nail Lacquer to my clients...who doesn't want nail polish that lasts for 2 weeks without chipping and still stays glossy? Here's my take on the whole Orly Gel FX system after trying it out myself and also, what my clients have to say about it so far.
 
The Orly Gel FX system is comprised of a Primer, Base Coat, Top Coat and over 44 nail lacquer shades to choose from, all of which have to be cured under UV light for just 30 seconds (except for the Primer which is air dried). All products are supplied in 9ml nail polish bottles. The bottles are completely opaque due to the products' sensitivity to light and they feature Orly's award winning rubber cap that enables a firm grip. The brush applicator is a typical nail polish brush except for the Primer and Basecoat, each of which feature a shorter brush.

 
Apart from the gel elements, the system also comes with a 3-in-1 Cleanser and Gel Remover (each available in different volumes) as well as foil wraps, buffer, dry brush, LED lamp and cuticle oil. I didn't buy everything as I already had most of the equipment since I do gel nails. These are the items I got:


At the time I purchased the items, the buffer and foil wraps were out of stock so I ordered them a few weeks later. Apart from a selection of all the colours I offer to my clients, there is the Shade Shifter which I will talk about in a minute.


The foil wraps are a novel idea which I like as they come incorporated with a sponge and they can be tightened effectively around the nails for optimum removal of the gel.

The system also comes with what Orly call a Dry Brush that is used to brush down the tacky layer from the basecoat. I like how the bristles are shaped to mirror the shape of the cuticle as this enables more precise brushing and they have just the right degree of flexibility.


Preparation is the same as for all gel manicures as anything gel doesn't like an oily base, otherwise it will just lift off the nail. Clients and myself are quite impressed with the fact that application is very fast and the gels cure in just 30 seconds under LED light (I like to leave them in the lamp for a few more seconds since mine is a UV lamp). The important thing is to seal the edges to prevent thickening of the polish and make sure the manicure lasts for 2 weeks without chipping.

As for the Shade Shifter, it works only with the Orly Gel FX Lacquers and it goes clear if your hands are in a warm temperature and dark if they are in a cold ambiance.


Removal is pretty easy thanks to the specially designed foil remover wraps and gel remover. After soaking the nails for around 15 minutes, all you have to do is gently push off the product and you're ready to begin application of a new colour! These are the colours I currently offer:


I have been using Orly Gel FX myself as I find the product doesn't chip away when using gloves (my work involves the constant use of gloves) and I am pretty impressed with them. Nail art can still be done on the gel polishes as well. Here are some pictures of manicures I have created for my clients:


For more pictures, prices and information on the services I offer, please like my Facebook page here.