Image Slider

Showing posts with label crackle polish. Show all posts

NOTW: 3 manicures in 1 week!

I had two events this week, my graduation and a wedding so I had to change my nails accordingly :) First up is the mani I had been wearing at the beginning of the week...
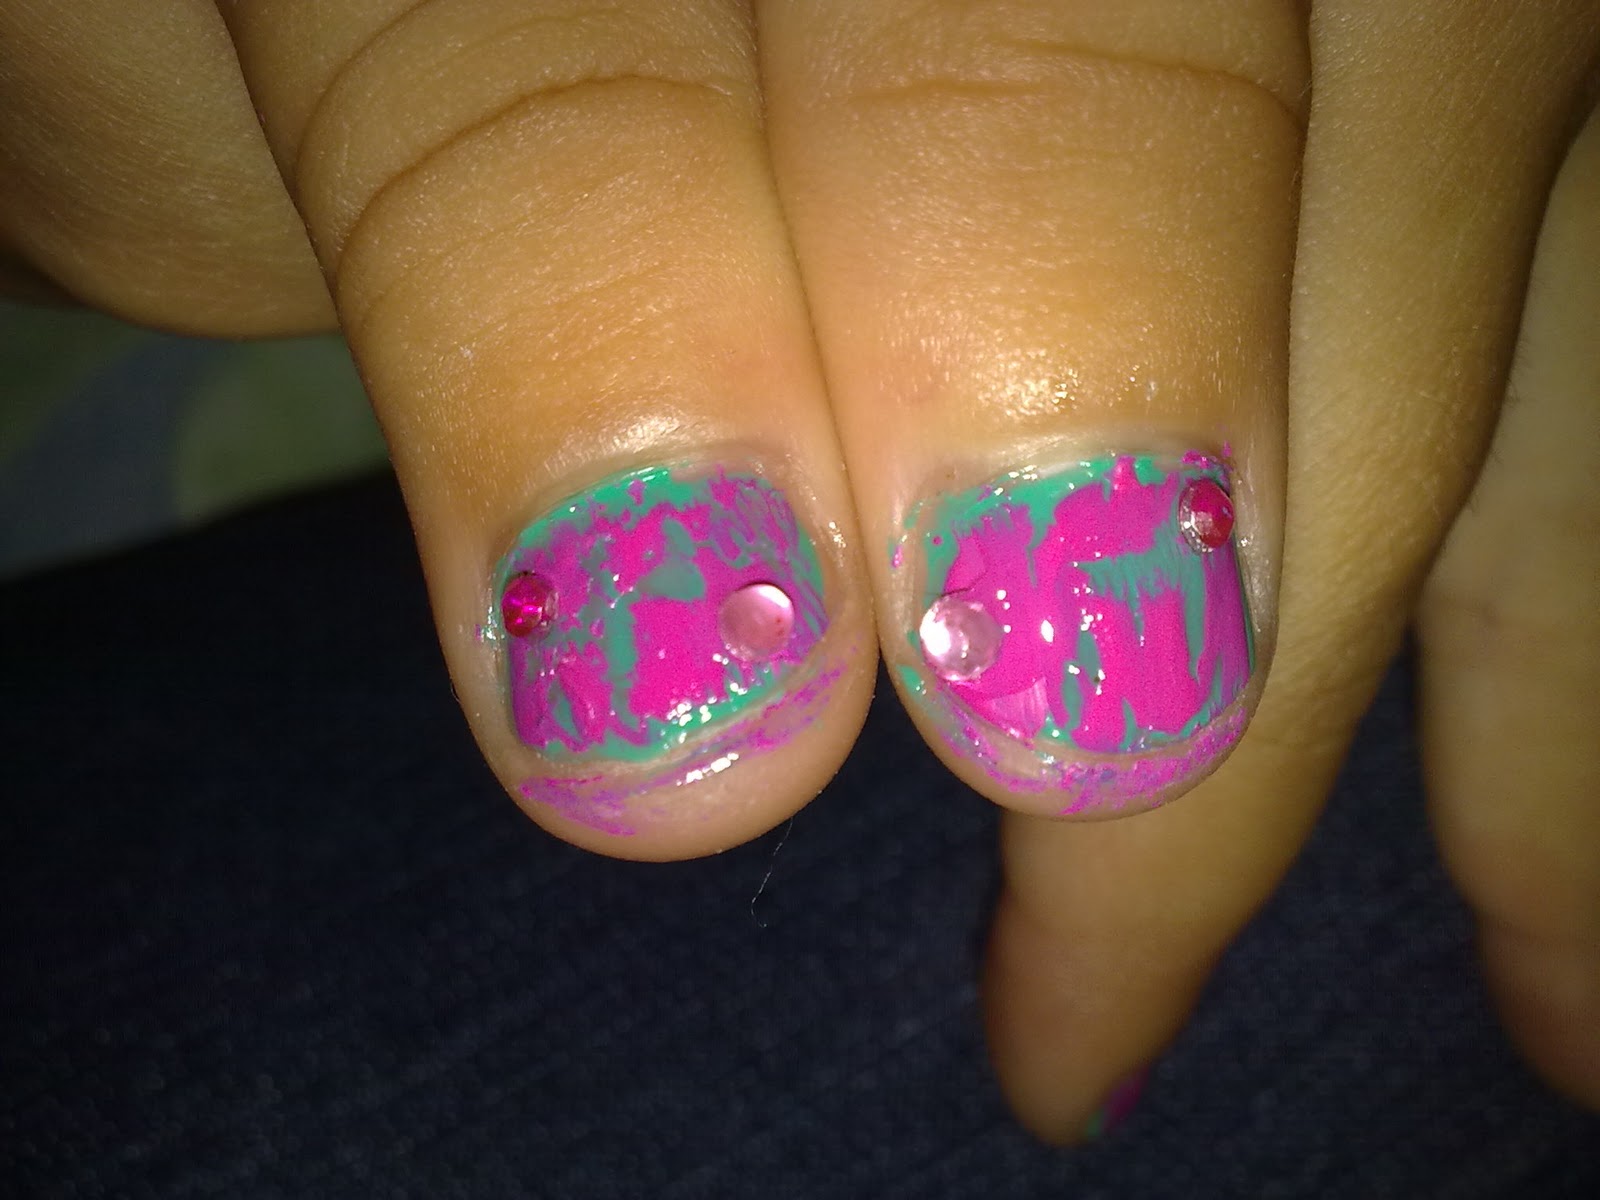
Sally Cracks Essie


I put on Essie's Very Structured as I hadn't yet worn it. I really like the colour and it is very appropriate at this time of year :) I paired it with Sally Hansen Cherry Smash red crackle polish and added a couple of petal rhinestones on the ring fingers :)


Graduation Nails


I wanted something chic and elegant for my graduation last Thursday and I opted for a classic French manicure with a filigree design on the ring fingers. I used a pearlescent purple nail paint to create the design and added two petal rhinestones as leaves and some purple steel beads to complete the design. 


Evening Wedding Nail Art 


Lastly, this is the manicure I wore yesterday evening for my dear friends' wedding :) It was a lovely wedding and we all had fun together :)

I sponged Orly Dazzle over the entire tips and a little further down and the proceeded with Essence Color & Go in Let's Get Lost over the very tips.  I added different sized rhinestones in a zig-zag fashion on the ring fingers to finish off my manicure :)


Which one is your favourite?

NOTW: Cherry Smash

Good morning ladies, I have crackle manicure for you today! I decided to name this manicure after the red crackle polish I used and it's name also inspired me to do some cherries.  Of course I kept the cherries to my ring fingers because of work and this is how it turned out:


Here's how you can do this mani yourselves:

1. Start with a base coat and apply a coat or two of a nude pink polish.  I used essie Vanity Fairest.

2. When dry, paint on a v-french tip with a black nail polish (see pic on right) and allow to dry fully before proceeding.  Here I used essie Licorice.

3. Follow the same pattern of the tip and apply a red crackle polish over the black tips. I used Sally Hansen Crackle Overcoat in Cherry Smash.

4. To create the cherries, simply adhere two red rhinestones in a diagonal fashion on the ring fingers with some clear polish.

5. Use a green striper polish to create the stems and a small leaf.  Finish off with a darker green for the main vein of the leaf.

6. Top coat and you're done!


Do you like this mani ladies? I quite like it, I just wish the red crackle turned out to be more bright but otherwise, I am very pleased with it :)

Speaking of crackle polish, my neighbour's daughter came over one day when I was wearing this manicure and she asked me to re-create the same look on her nails.  Since her nails are teeny tiny and I don't like anything black on children, I paired China Glaze Crackleglaze in Broken Hearted with e.l.f.'s Teal Blue as a base colour.  I then added two pink rhinestones on each of her thumbnails and this is the end result (excuse the messy nail walls):


NOTW: All Crackle'd Up!

Good morning dolls :) This week, I just used my China Glaze Broken Hearted Crackleglaze over a regular glitter polish so there's no real nail art tutorial.  However, there are some bonus crackle patterns that my bf came up with! So keep reading to see what I mean :)

Here are a couple of pictures of the mani I have been wearing:


As promised, here are the other crackle patterns:


L ~ R: Vertical, horizontal, diagonal and 'S'-shaped (my favourite)
Top photo is taken with flash and bottom photo is in sunlight
Background colour is essence colour & go in 55 Let's Get Lost

The story behind these:

When I got this crackle polish, my bf happened to be over at mine and he told me, to try and do horizontal and diagonal crackles instead of vertical and I tried it but with little success.  So, in turn, he suggested that I paint the polish as I intend to do the crackles; so if for example, I wanted diagonal crackles, I should paint the base colour in a diagonal fashion as well and so on and so forth.  This time, it worked and the above swatches were the result of this little experiment :)  Just remember to paint the base colour in the same direction you want the crackles to be and always remember that for crackle polish to work, the colour underneath has to be completely dry! A thin coat of crackle polish does the trick :) Have fun!