Image Slider

Monthly Favourites: May 2011

Time for monthly faves again ladies! This month, I have really been loving my neutrals (and not wearing any foundation when possible) so that is basically what you will see in this post. I have also included some accessories I have been wearing over and over again, so let's start with the make-up: 


e.l.f. Studio Warm Bronzer ~ with the natural look being more favoured this month, I have been opting for this bronzer more frequently as it gives a nice glow without making me look OTT.

e.l.f. Studio Complexion Perfection ~ I have hit pan badly on this and I will definitely repurchase it! It's a must have in any make-up bag!

e.l.f. Mineral Lipstick in Natural Nymph ~ I have really been using this lipstick a lot either on its own or in combination with other lip products.

Cover Girl Trio in Cafe au' Lait ~ my favourite neutral eyeshadows... I had used up the second shade and the last shade happened to get smashed after I managed to drop the compact so now I'm only left with the brown shade :( P.S. I have also managed to smash half of my Max Factor Creme Puff, e.l.f. Desert Haze nail polish and another no name nail polish + the afore mentioned eyeshadow in less than 24 hours last weekend... definitely not a favourite!

e.l.f. Super Glossy Lip Shine SPF15 in Goddess ~ My favourite lip gloss when it comes to the natural look as I find it gives my lips a nice hint of colour without looking too obvious.

Rimmel Extra Super Lash Mascara in Black Black ~ I finished my e.l.f. Lengthening and Defining mascara so I have been using this instead and so far, I'm loving the results. I will definitely get more of the elf mascara though.

Rimmel Lasting Finish Minerals Loose Powder Foundation in 100 Ivory ~ when I just want a little coverage, I have been using this foundation more lately and I re-discovered how much I really love it!

Barry M Shimmering Body Creme in Golden Reflects ~ I like the creamy texture of this product and I have been using it mostly in the inner corner of my eyes for definition.

e.l.f. All Over Color Stick in Persimmon ~ the versatility of this product is what makes it a firm favourite of mine! I use it on my lips, on my cheeks and even on my eyes for a put-together-without-much-effort look!

e.l.f. Shimmer Eyeliner Penicil in Boldly Bronzed ~ what better way to stay natural looking and accentuate your eyes than with a shimmery bronze pencil?

e.l.f. Studio Cream Eyeliner in Metallic Olive & Midnight ~ I love the staying power of these creme eye shadows from elf. In fact I'm planning on getting more shades cos I love them so much! 

I have also been enjoying my first China Glaze polish... Awakening. I'm still in awe at how this polish 'changes' colour according to the angle at which light hits it. Here are a couple of photos:


Left: full colour mani; Right: used the same polish for the flowers' centres

With regards accessories, I have been really enjoying wearing the following items:


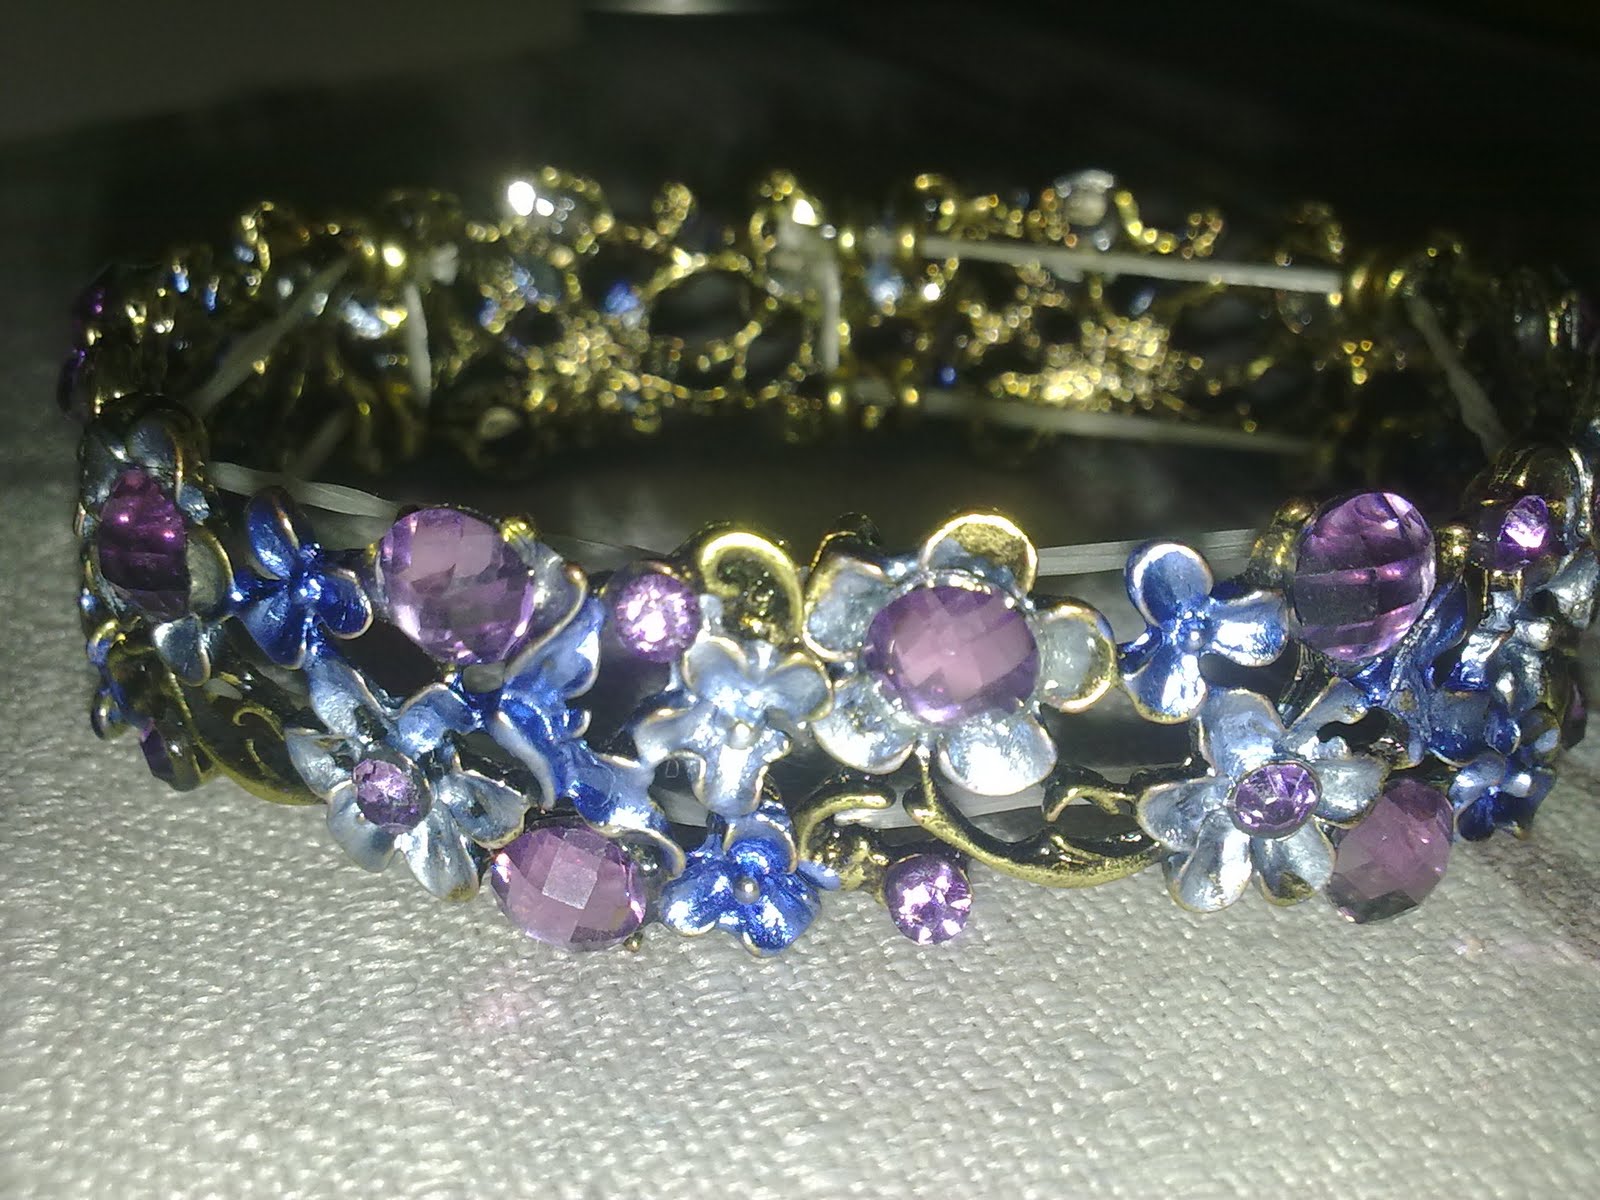
Anchor earrings, blue and purple rhinestone encrusted cuff, shoes from Marks & Spencer and my New Look cross-body bag.

What were your favourites this month ladies?

Asking for a little favour ^.^


To all my facebook friends, I would really appreciate it if you could help me win this competition by liking my picture on this link: http://www.facebook.com/photo.php?fbid=188188531233883&set=a.185609538158449.63176.141788782540525&type=1  

Remember to like the page first!

Thank you in advance sweeties xxx


How I clean my Make-up Brushes

Hey all! So I'm really bored of studying right now so here's a little tutorial on how I clean my make-up brushes *special thanks go to my brother for patiently taking the pictures*. I usually give my brushes a thorough clean every Sunday since I tend not to wear make-up on Sunday to let my skin breathe (unless I have somewhere special to go obviously).  You can read more tips and info on brush cleaning here but in the meantime, here's the step-by-step tutorial!


Dirty brushes + e.l.f. Studio Daily Brush Cleaner & Brush Shampoo

The first thing I do is I spray a little of the Daily Brush Cleaner onto a clean face towel to remove most of the make-up from the brush bristles.  I mainly do this to save on the Brush Shampoo which comes in a 120ml format vs the 250ml of the Daily Brush Cleaner.  I also use the Brush Cleaner to clean my brushes in-between make-up applications.  I like to start with my larger and more dense brushes first as they are the ones that take longer to dry.

Next, I fill a little bowl with lukewarm water and add a few drops of shampoo; enough to make a little lather.  I dip the brushes one by one in the bowl and swirl them around a little. When the water gets really dirty, I change it and add more shampoo.


Washing the foundation brush... you can actually see that the water has turned yellowy!

Subsequently, I squeeze the bristles (always pointing them towards the sink to make sure that no water or soap gets in the ferrule) to remove excess water and then I swirl the brush on my palms to work up a lather and make sure that all product is removed. I also apply some regular hair conditioner to the bristles and leave it to act for around 3 minutes before I finally give the brush a good rinse under warm running water and squeeze the bristles again once last time in a towel to further cut down on drying time.  I like to apply the conditioner to the brushes one by one until I wash the next so that it has time to work and then I rinse it off starting from the first brush I applied it to so that the last one has time to get conditioned as well.


For brushes that I use to apply lipsticks, lip glosses, cream eyeliners and any other cream products, I like to use Baby Oil to cleanse them thoroughly and make sure there are no product residues. I just pour a little oil in the palm of my hands, soak the bristles in and let the oil lift the product. When no more product comes off, I wash these brushes in the same manner as all other brushes.


Can you see the eyeliner coming off effortlessly in the second picture?

Finally, I place my brushes horizontally on a face towel to dry.


Recently, I came across a video on YouTube by KlaredelysArt where she explained how you can make home-made brush guards. I actually tried it and it works! Check out her video here!

So that's it ladies! I hope you found this tutorial useful! How do you clean your brushes? Do you use a different method to mine? I'd love to know, so leave a comment in the box below! 

OOTN: Little Miss Elegant

Here's the outfit and make-up I wore yesterday night my lovelies :) Me and Johan went out for dinner as we hadn't done it in quite a while so I thought it was a good excuse to actually wear an outfit and shoes that I haven't worn already! Here are the pictures:


Dress, Peacocks
Shrug, Stradivarius
Shoes, Limited Collection by Marks & Spencer
Clutch, Accessorize
Pearl bracelets, Peacocks


And here's a list of products used to create the make-up look:

Face
Inglot Under Make Up Base 
NYX HD Foundation in HDF02 Soft Beige
essence stay natural concealer in 01 Soft Beige
Max Factor Creme Puff in 85 Light 'n' Gay
Rimmel Powder Blush in 004 Pink Rose
e.l.f. Studio Make Up Mist & Set

Eyes
e.l.f. Eyelid Primer
e.l.f. Everyday Brights 32 Piece Eyeshadow Palette
Cover Girl Eye Enhancers Trio in Cafe au' Lait
Rimmel Extra Super Lash Mascara in Black Black
Max Factor Kohl Eye Pencil in 020 Black

Lips
NYX Long Lip Pencil in CLPL20 Plush Red
Max Factor Lipstick in Hint of Red


NOTW: Neutral Toned Abstract

Happy Sunday everyone! I excuse myself once again for the lack of posting but it's the final stretch now... in three weeks' time I will no longer be a University student so I really have to give it my best shot.  So that's why I'm not finding time to do proper blog posts as I really like to plan what I have to say and stuff... I want whatever I'm doing to be done well so if I cannot dedicate enough to a task, I do not do it in the first place. I really appreciate every follower of this blog, new and 'old' for sticking with me so here goes a big THANK YOU and a BIG HUG to you all :D Anyways, here's the nail art design I have been wearing this week:


As you can see, it is an abstract design but since it is quite a busy design, I opted to create it on the ring fingers and thumbs only.  I also chose neutral colours to make it more wearable.  Here's how you can re-create it yourselves!

1. Start with a base coat and when dry, proceed by painting two coats of a nude polish of your choice.  I chose e.l.f. Desert Haze.

2. For the design, start by making a thick diagonal line with a dark brown nail polish. I used Oil of Olay Nail Lacquer in Bronze Reflection.
3. With a light coppery toned polish, make a smaller diagonal line from the tip all the way to the brown line you have just drawn. Do not overlap them, just make them meet. Here I used e.l.f. Blush.

4. With a taupe nail polish, draw a semi-circle at the corner of your nail, going over the brown line. I used e.l.f. Smokey Brown.

5. With an even darker brown nail polish, do little connections between the other lines.

6. With a dotting tool, place dots wherever you want and using any of the colours. To make the two-toned dots, simply dot a larger dot with one colour and then place a smaller dot inside it with another colour.

7. Optional: you can also adhere some rhinestones or pearls like I did on my ring fingers.

8. Seal with a top coat and you're done!


A little bit of everything...

Hope you're all having a nice day so far lovelies! Yesterday, I took the first half of the day off my studies and went shopping in Valletta with my Mum. I was actually looking for a nice dress for a wedding I have towards the end of June but ended up finding none :( I managed however to buy another pair of shoes!! Jeez I can never ever get enough of buying shoes! It was the perfect pick-me-up treat! I have been eyeing several pairs of nude-coloured shoes and I finally found one which is comfortable and looks really classy/elegant (in my opinion) from Marks and Spencer:


This morning, I did some nail art for my friend and as usual, I wanted to share my work with you:


Lastly, here's the eye make-up I wore last Thursday evening. It has been ages since I did some bright eye make-up as with all my energy being consumed during the day studying, we were opting for more relaxed nights so I would either skip the make-up altogether or else opt for neutral eyeshadows.  Anyways, Thursday seemed like a good evening to have some fun with make-up again as I went to help Johan choose some cheesy gifts for a stag night he was invited to and since we were going out, I opted for a fun blue and purple look:


Here's a list of products used:

Face
e.l.f. Tinted Moisturizer in Rosy Beige
essence stay natural concealer in 01 Soft Beige
e.l.f. Studio Complexion Perfection
Rimmel Powder Blush in 004 Pink Rose

Eyes
e.l.f. Eyelid Primer
NYX Jumbo Eye Pencil in Milk
e.l.f. Everyday Brights 32 Piece Eyeshadow Palette
Ultra Glow Shimmer Pot in Icicle
e.l.f. Studio Cream Eyeliner in Midnight
Rimmel Extra Super Lash Mascara in Black Black

Lips
Eyeko London Lips lipgloss in Knightsbridge

Collective ebay Haul

Hello dolls :) Here's a collective haul of some stuff I got from ebay during the last couple of weeks to cheer me up as soon as they pop in the mail... at least I can distract my mind off of my studies for a little while!


First up, some Mylar nail art sheets and a free sachet of nail stickers I got with my purchase

I got myself a new set of nail art brushes... this time they are pink! I gave the other ones to my Dad (still in pristine condition) as he is currently revisiting a childhood hobby of his, aviation model building and he needed some fine brushes to paint the details on.


I have been wanting a pair of anchor earrings for ages now and finally I found the perfect pair!! I like how they look so vintagey... can't wait to wear them!


I also ordered a presentation pack of the official British Royal Wedding postage stamps. Here are some pictures:


Finally, while I was busy studying, this morning, Mum went shopping and got me this beautiful bracelet and a pair of silver stud earrings :)


As soon as I finish my exams, I will order a few more China Glaze polishes as well as an over-due elf order to treat myself hehe so watch out for that! I will also be getting some new necklaces and earrings (yeah I can never have enough accessories) so if you're interested I can do some jewellery collection posts for you cupcakes :) Until next time, stay beautiful!

NOTW: Pink Gradient and Tiger Stripes

Good morning ladies :) Hope you all had a nice weekend! This week's nail tutorial is quite simple and I decided to use the sponging technique as I hadn't done a nail design with it in a while.  Here's the end result:


... and here's the step-by-step tutorial!

1. Apply a base coat and when dry, paint on one coat of an iridescent pink nail polish. I used BYS Passion Pink.

2. Using a make-up applicator sponge, dab a little shocking pink nail polish onto the tips of the nail and go little further down. Here I used Rimmel 60 Seconds Funtime Fuchsia.

3. Using another side of the make-up sponge, dab a little neon purple polish at the very tips to create a gradient effect.  I used BYS Ultraviolet.

4. Apply a little clear glitter polish to blend the colours together and let dry. I used e.l.f. Twinkle.

5. By means of a black striper polish, draw stripes as in the picture.

6. Apply another thin coat of the glitter polish over the stripes for added sparkle.

7. Let dry and seal with a top coat!


P.S. Earlier this week I organized all my nail polish swatches on nail wheels so if anyone if interested to see my collection, just leave a comment :)