Image Slider

Showing posts with label NYE. Show all posts

Emerald & Gold Glitter - NYE Make-up Look featuring Pupa Milano Christmas 2012 Deco Collection products

As promised, here is a make-up look you can wear on NYE if you are still undecided. I have also included  a list of products used for your reference so keep reading to see how you can re-create the look :)

1. Start with the eye make-up first so that you can clean up fall-outs easily. Apply some scotch tape at 45 degree angle starting at the tail of your brows.  This will help to create a more accentuated outer-v.

2. Prime lids with an eye primer. Next, apply a gold eyeshadow with a shader brush on the inner third of your eye and proceed with a deep brown on the second third, moving outward (left eye).  Use an emerald green shadow on the outer corner and make sure that you create a defined line against the scotch tape (right eye). Here I chose to take the emerald shadow a little higher than the crease of my eye for a more dramatic look .  It is best if you use an angled eyeshadow brush for this step.


3. Take a fluffy blending brush and go over the gold eyeshadow once again, taking care to blend it with the brown eyeshadow. Do the same for the brown and emerald eyeshadows making sure that the line above the crease is nice and neat.

4. Apply a matte eyeshadow close to your skin tone on the brow bone for highlight and add some brow gel to keep brows in check.

5. Use a glitter eyeliner to line the upper lash line and the inner corner and with a slant eyeshadow brush, mirror the colours on the lid and line the lower lash line. Make sure you connect the shadow at the outer corner.


6. Curl lashes, apply a mascara primer if you wish and finish with several coats of your favourite mascara.


7. Now, for the face. Apply concealer and foundation as you normally would, taking care not to ruin the eye make-up. Set with a translucent powder and apply some fixer to avoid caked up make-up. Choose a foundation that doesn't have SPF so you don't end up looking white in photos.

8. Contour your face by applying highlighter to the bridge of your nose, cupid's bow and cheekbones; bronzer to the hollows of your cheeks and blush to the apples of your cheeks.

9. Lastly, since we have so much going on with the eyes, I opted for a nude lip and applied Catrice Ultimate Colour lipstick in 190 The Nuder The Better and topped it with Essence XXXL Shine Lipgloss in 08 Glamour To Go for extra sparkle!


Face
NYX Concealer in a Jar in CJ12 Green
NYX HD Foundation in HDF02 Soft Beige
Essence Stay Natural Concealer in 01 Soft Beige
E.L.F. Studio Translucent Mattifying Powder
Napoleon Perdis Ultimate Contour Palette
E.L.F. Studio Make-up Mist & Set

Eyes
E.L.F. Eyelid Primer in Sheer
Essence Eyeshadow in 02 Dance All Night
Pupa Milano Diamond Eyeshadow in 04 Emerald Glitter Deco
E.L.F. Mineral Eyeshadow in Outdoorsy
Wet 'n' Wild Single Eyeshadow in Creme Brulee
Pupa Milano Diamond Eyeliner in 03 Copper Glitter Deco
RevitaLash Volumizing Primer in Navy
Catrice Glamour Doll Mascara

Lips
Catrice Ultimate Colour lipstick in 190 The Nuder The Better
Essence XXXL Shine Lipgloss in 08 Glamour To Go 

Happy New Year everyone :)

NOTW: Lace-y New Year :)

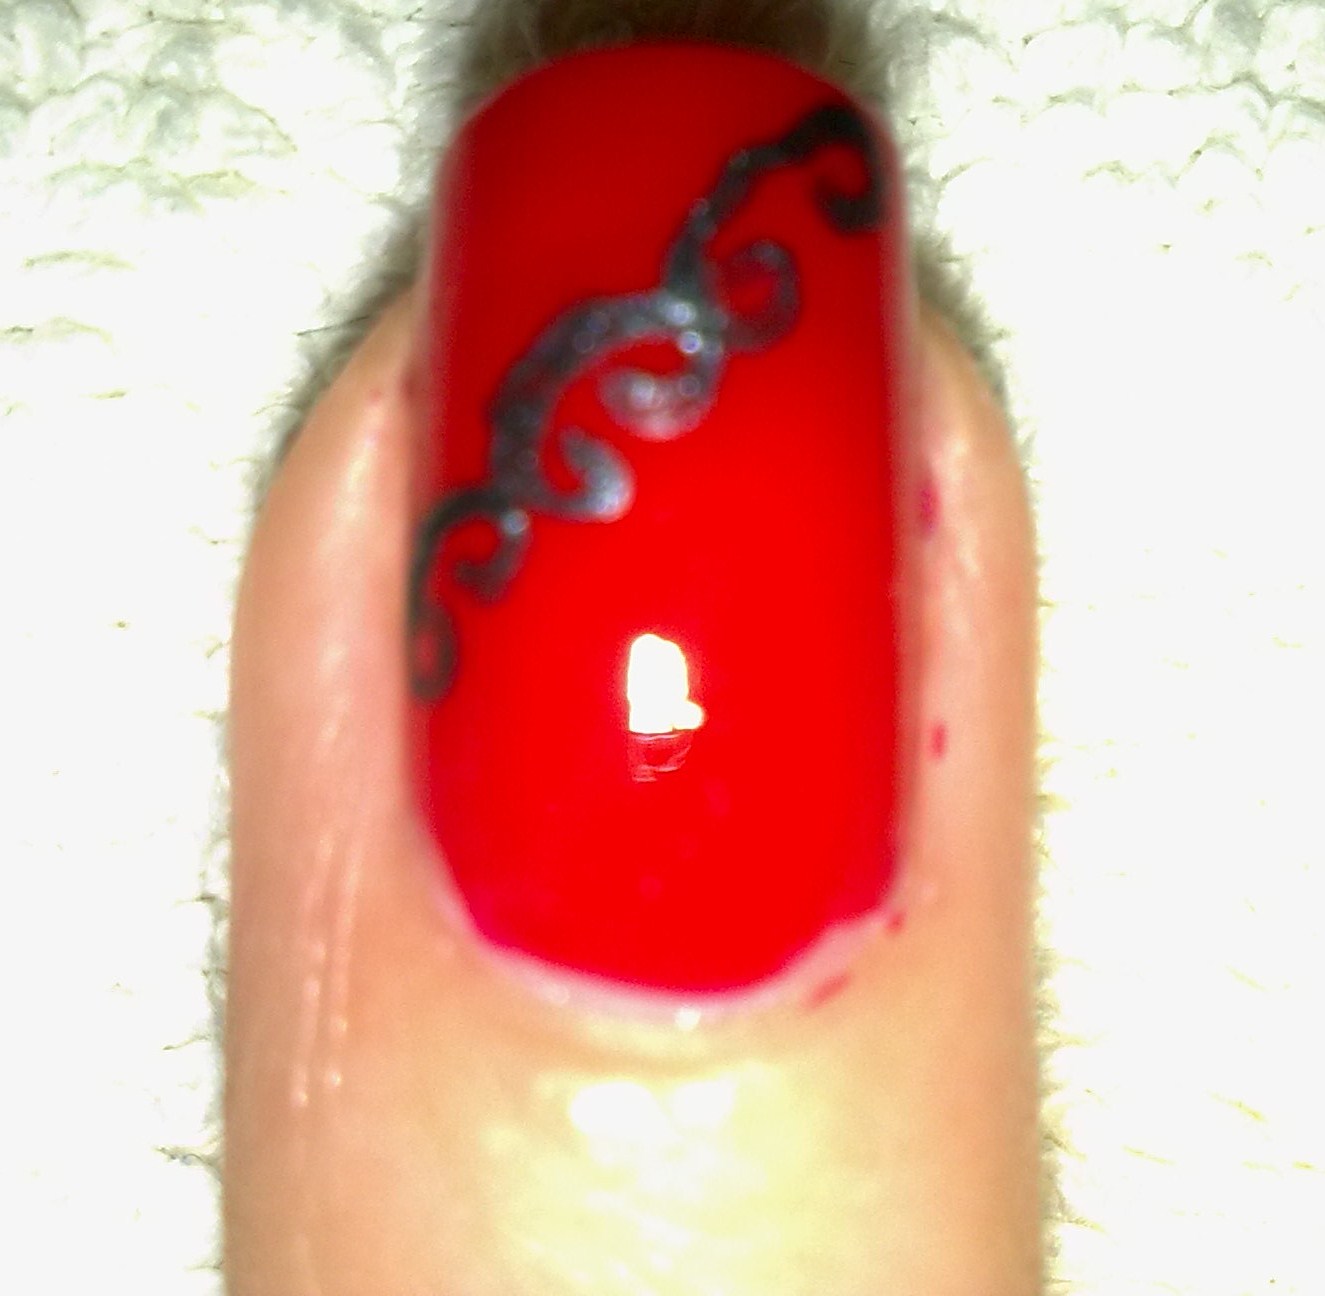
Happy New Year my lovelies :) How have you greeted this year last night? Me and Johan stayed over at my house because it was really cold outside and today I'm working. Nonetheless, I didn't skip doing a manicure for the occasion as I still wanted to feel a little pampered :) I opted for a lace effect design over a classic red manicure.  Although it may look complicated, it is very easy to create but don't rush it and take your time doing it for the best possible results.  Here are the pictures and a step-by-step tutorial:


1. Since we are going to use a red nail polish, make sure to prep nails with a base coat and a nude polish to prevent staining your nails.

2. Paint two coats of red polish over the entire nails, leaving ample time for dying in between coats. My choice of polish was Max Factor Nailfinity in Red Passion.

3. For the lace design, I prefer to use acrylic paints as they are easier to work with than nail polish (just make sure you always use a base polish whenever you are using acrylic paints; never apply them to bare nails).  I used a pearl black paint.  Start by drawing 3 'C' shapes and curl in the ends as shown in the picture on the right.  Repeat the design by reflecting the 'C's' on the top of the ones you just drew.  Finally add a few dots to give the design a more lace-like look.

4. Apply a glossy top coat and you're done! 


I hope you had a nice start to your year and may everyone have a prosperous 2012!

NOTW: Glamourous Fishnets... New Year's Eve Tutorial #2

Here's a way how to wear fishnets without looking trashy...


I am going to be wearing this manicure tomorrow for NYE Celebrations over at our capital city Valletta.  Stay tuned for my OOTN post tomorrow :) Keep on reading to find out how to create this design yourselves :)


1. Since I am used a dark red colour, I painted on two thin coats of a clear base coat instead of one to protect my nails from staining.

2. When this dries, apply two coats of a deep red nail polish or any other colour you prefer. I chose e.l.f. Cranberry and applied it on all nails omitting the ring fingers.


3. On the ring fingers, paint on a French tip with the same colour. 

4. With a medium sized striper brush, create a criss-cross grid design as shown in the pictures.  Leave to dry.

5. Apply a coat of a glossy clear top coat all over the nails including the ring fingers.  You may wish to leave the design as it is or else go on to achieve the same design as mine.

6. For this, you will need some steel beads (I got mine off ebay at a really cheap price for 18 different colours). Dip a dotting tool or toothpick in the clear top coat and pick the beads one by one and arrange them on the nail following the curve of the tip.  Do this while the top coat applied in the previous step is still wet.

7. Allow a few minutes for everything to dry and top coat again to finish!


Happy New Year everyone :)

Blogger Templates

NOTW: Shiny Disco Balls... New Year's Eve Tutorial #1

As promised, here's the first nail tutorial for NYE.  It is a very sparkly design for which the only things you will need are a base coat and top coat, a glitter polish and a polish in a solid colour and a dotter/toothpick. Let's get started! 


1. Apply a thin coat of a clear base coat and let dry.

2. Follow with two coats of a glitter polish of your choice.  I used a purple glitter polish here.

3. With a toothpick or dotting tool, place dots in a fashion that suits your fancy on all of the nails. You can choose to place your dots in the same pattern on all the nails, or do like I did here and go with a different pattern. I used a black polish for the dots.


4. Finally, seal your manicure with a clear glossy top coat and you're done! 


Blogger Templates
Blogger Templates