Image Slider

NOTW: Antique Gold

A few months back I bought some gold foil nuggets from NailDelights.com and I immediately knew what I was going to use them for as I had seen a nail tutorial on some magazine a few weeks ago.  Basically, it involves laying the gold foil onto the nail and then going over it with nail polish remover to make it look aged and give it an antique look... however, since it is summer, I opted to go for a mint green base instead of the dark navy blue that was portrayed in the magazine's nail tutorial.  Here are the pictures and a step by step tutorial:


1. Prep nails with a base coat and when dry apply two coats of a mint green polish. I used China Glaze For Audrey here. While this dries, cut up the foil in pieces that fit your nails.

2. Apply a thin coat of clear polish over the nails and pick up a piece of the gold foil with a damp q-tip.  Make sure your hands are clean while handling gold foil as it is very delicate and fragile.

3. Go over the foil with a q-tip dipped in some nail polish remover until it starts to crack and wear away a little.

4. When satisfied with the result, seal everything with a glossy top coat.


Review: Born Pretty Store 1.5mm Round Gold Stud Rhinestones

 We have all seen studs on shoes, bags and fabrics on the catwalk and now you can have them on your nails as well thanks to Born Pretty Store who have introduced a variety of stud rhinestones in different sizes, shapes and colours as part of their nail art decorations section.  

I chose the 1.5mm round gold variety to review and they come in a small resealable plastic bag. The studs have a nice gold colour which complements a lot of nail varnish colours and can be used in a multitude of ways such as creating flowers, in the centre of hand-painted flowers, create crosses and other shapes as well as in half-moon manicures.


They are very versatile to use in both girly and gothic inspired designs. You just have to pick them up with a dotting tool dipped in clear polish or a moist q-tip and place them where you want on the nail to create your desired design et voila'! Studded nails in no time!


These rhinestones retail for $5.86 or you can get 10% off when quoting the code EBABK31 at checkout.

PR Sample


Monthly Favourites: June 2012

I'm a bit late on my favourites this month but as they say, better late then never so here they are!


This month I finally got the chop and went back to having short hair! I am loving my new hair 'do as I really needed a change and opted for an asymmetrical bob (pictures will come up shortly in an OOTD post).  That means that mousse is once again my hair's best friend for some volume and my favourite has been the Tresemme 24 Hour Body Volumizing Mousse as it gives my hair some bounce hand holds a style until I wash my hair.  At the beach I have been protecting my tresses against UV rays with Angel Hair Care Summer Shine Spray.  I have also been really enjoying using the e.l.f. Studio Lotion Wipes in Vanilla & Coconut to rid my skin of the drying sea salt and smelling gorgeous at the same time!


As far as make-up goes, in summer I don't wear much make-up but I do like to play up with lip colours and my favourite this month have been Essence Stay With Me Lipglosses in I Like Cotton Candy & My Favourite Milkshake (alone or paired together or the latter paired with Catrice Ultimate Colour Lipstick in The Nuder The Better, another favourite this month), e.l.f. Glossy Gloss in Merry Cherry (for when I want a subtle red lip), Catrice Colour Show Lipgloss in Toast With Champagne.  On my eyes I have really enjoyed wearing this unique gold eyeshadow from Essence called Dance All Night and the Essence Gel Eyeliner in London Baby which is the creamiest gel eyeliner ever and a nice brown shade perfect for everyday! I really like the gel eyeliner brush and I have been applying all my gel eyeliners with it ever since I got it and I think I will have to buy another one soon! The Essence brow gel has been a very good value for money find this month and I hope Essence never discontinue it!


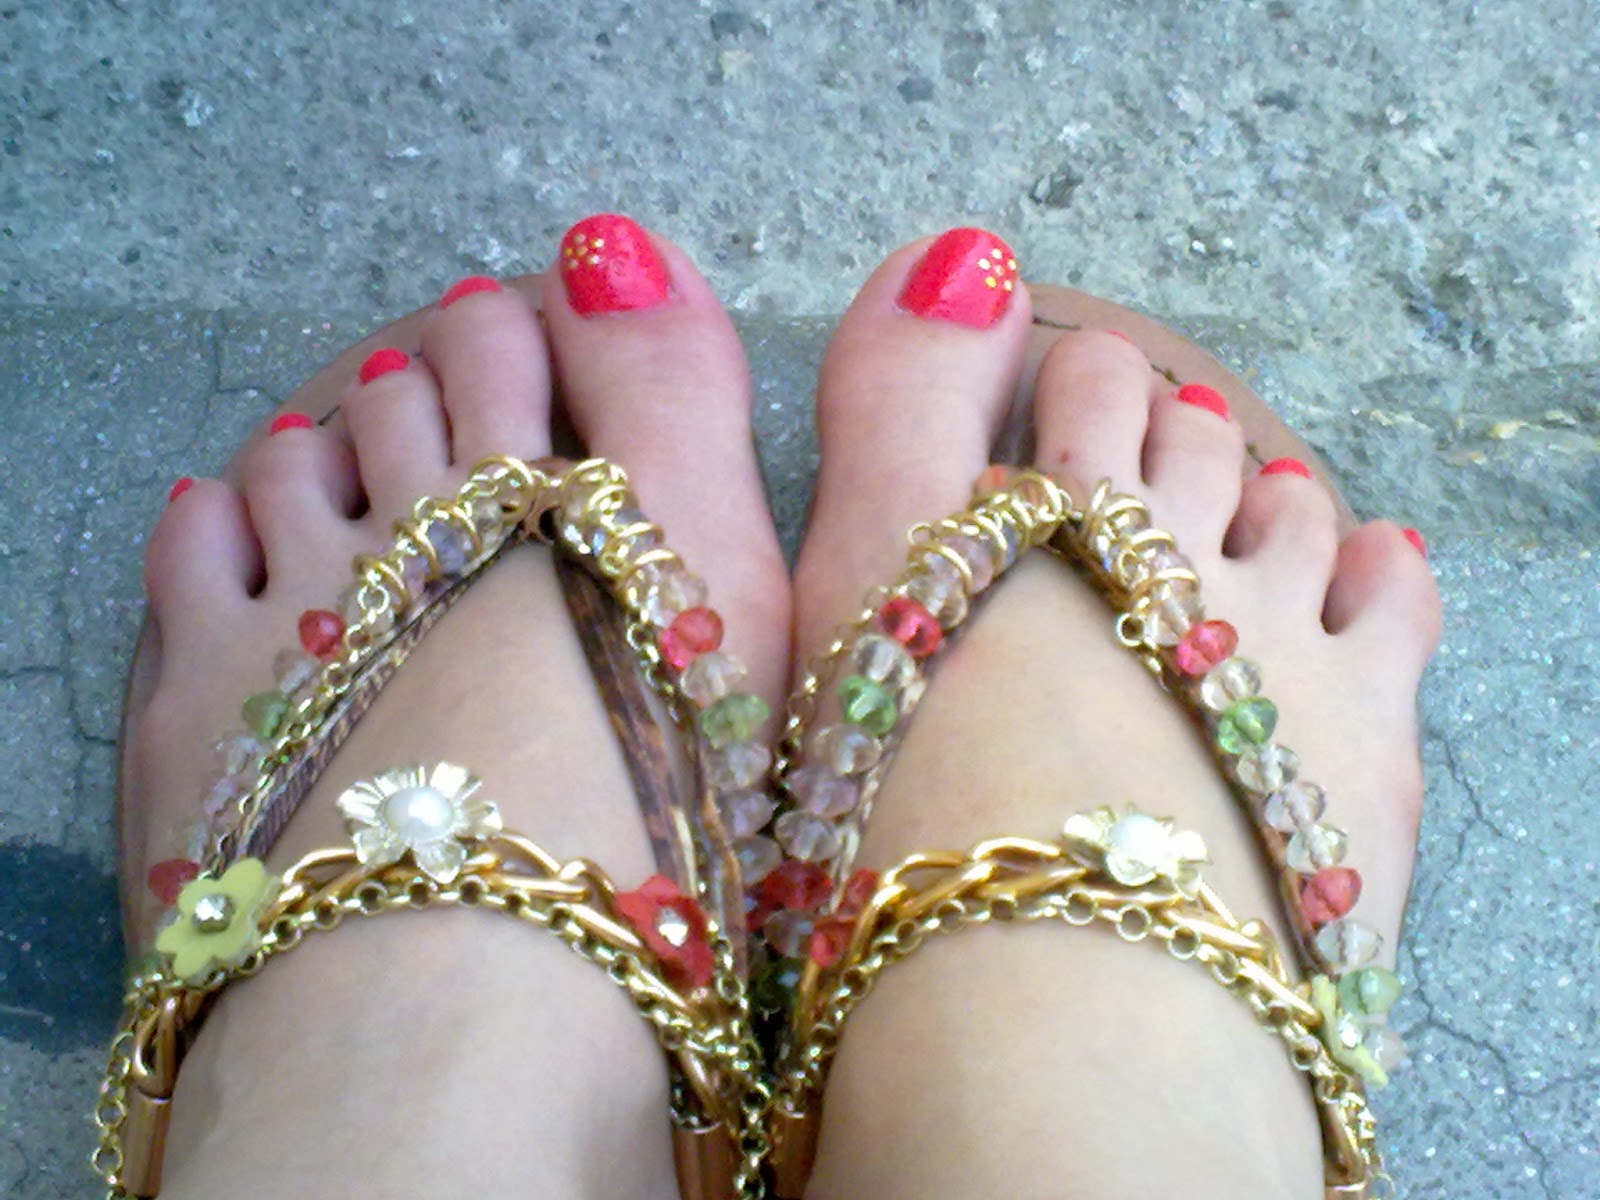
Summer calls for bright coloured nails and I have really been leaning towards neon pinks/corals this month. My favourites were CH Nail Lacquer #18 from Born Pretty Store, a neon coral one from China Glaze (which I got for free at the Malta Trade Fair but I don't have a name for) & China Glaze Princess Grace for when I want something more muted that looks good with a tan.  I have always liked this Maybelline polish because I think it is quite a unique colour and  this month, I found out this is one very hard to find polish and that makes me love it even more!  Orly's Nailtrition has been my favourite base coat ever since I got it and I cannot recommend it enough and as for top coat, this month I discovered the Essence Gel Look Topcoat which makes my manicures last a whole week without chipping. One word of warning though... make sure the polish underneath is fully dry before painting this on other wise you will end up with loads of bubbles on your polish. The studs are from Born Pretty Store and I have been totally obsessed with them and included them in almost every manicure this month!


Lastly, you have seen this in my collective haul and I am including it in my favourites as well :) 


Review: Born Pretty Store Neon Nail Polish in #18

Neon hues are all the rage this summer and while neon clothes and accessories might not be everyone's cup of tea, neon nail polish and nail art is a cheap and easy way to stay on trend without moving out of your comfort zone! Enter the new nail polishes from Born Pretty Store which also glow under UV light! 

I was sent one of the 24 shades available and since I was able to, I chose number 18 as it is a nice bright melon pink, perfect for summer time! 

The bottle is pretty standard and holds 15ml of product.  The brush is very nice and easy to work with as you get your nails done in a few strokes.  The formula is on the thick side and is fully opaque in two coats.  As with most neon nail polishes, this one dries to a rather matte finish but you can always apply a glossy top coat if you want a glossy finish.  Two things which I am not very fond of are the drying time (it does take some time for the polish to be fully dry) and the smell of the polish (it has quite a powerful smell which fades away when the polish is fully dry. However, I recommend working with this polish in a well ventilated area).


Now for the fun part! Here are swatches, manicure ideas and pictures of how this polish would look under UV lights at the disco ;) You can check out the nail art tutorials here.


I totally recommend this nail polish for fun loving nail art enthusiasts and it retails for $4.99 (which you can get 10% off when using the code EBABK31 at checkout). You can get yours here.

PR Sample

NOTW: Neon Disco Ball & Leopard Print

This week, I have been experimenting with a neon nail polish from Born Pretty Store which I will review later on. I came up with two manicures in one week and I wanted to share them with you starting with the easier one first... Neon Leopard Print.


1. Prep nails with a base coat and when dry, sponge some white nail polish over the tips to create a French manicure.

2. Choose three neon coloured nail polishes and put some dots randomly on one side of each of the nails and leave to dry.

3. With a small dotting tool, put jagged 'C' and 'U' shapes around the coloured dots to create the leopard dots and once dry seal with a clear top coat.

The next nail art design is actually inspired by a disco ball and I did the 'disco ball' on the ring finger and the lights that reflect off it are on them remaining nails.


1. Prep nails with a base coat and when dry, paint on two coats of a shimmery silver polish on the ring fingers and two coats of the neon pink polish on the remaining nails.

2. Whilst the silver polish is still wet, place silver and pink hexagon flitters randomly all over the nail to give the impression of a disco ball. Seal with a top coat.

3. When the pink neon polish has totally dried, place striping tape in random angles. I recommend using 3 to 4 stripes. 

4. Paint black nail polish over these nails (including the tapes) and after around 20 seconds peel off the tape to reveal the pink colour underneath. Seal with a top coat and you're ready to show off your nails under disco UV lights!


I hope you enjoyed these tutorials and if you're interested in the neon polish, watch out for my review on it in the coming week!